This tutorial will discuss about how to install PYLITH-code in windows 10 environment via Linux bash shell. PYLITH is finite-element code for dynamic and quasi-static simulations of crustal deformation, primarily earthquakes and volcanoes.
STEP 1.
Enable Linux bash shell environment on Windows 10. You can follow this tutorial to do this step. Please note, that tutorial is written in Indonesia :). Well, you must learn Bahasa Indonesia first beforehand, LOL. Don’t worry, I put figures in each step so that other can understand even can’t understand the language.
STEP 2.
Preparing folder
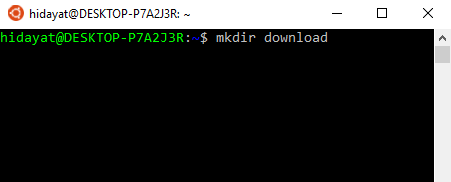
– Download
I assume you just enable Linux bash shell and your $HOME directory is still fresh (no folder at all). The first folder in this directory will be “download”. This folder will be used to save the PYLITH-code.
you can simply type:
>> mkdir [name of folder]
So now you already have directory: $HOME/download
STEP 3.
Download binaries sources.
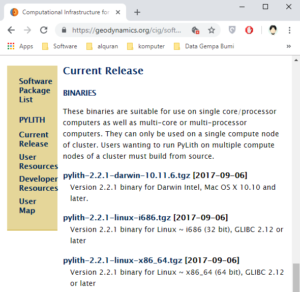
PYLITH-code binaries can be downloaded from this link. User can choose 32-bit or 64-bit system. The latest version of PYLITH is 2.2.1.
Why binaries? well, this is the most easiest way to install and use PYLITH in our computer :).
Go to your “download” directory, simply type:
>> cd $HOME/download
Then, type:
>> wget https://geodynamics.org/cig/software/pylith/git/v2.2.1/pylith-2.2.1-linux-x86_64.tgz
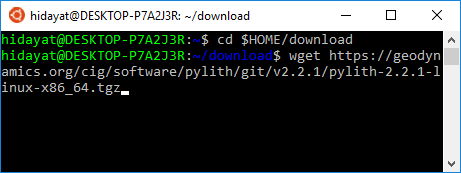
In this way, you will download the latest version of PYLITH (2.2.1)
STEP 4.
Extract/unpack downloaded file.
Simply type:
>> tar -xzf pylith-2.2.1-linux-x86_64.tgz
you will notice new folder, same as above, “pylith-2.2.1-linux-x86_64”

STEP 5.
Set environment variables.
In the original manual, user can type:
>> source setup.sh
Note: please make sure you still in your PYLITH directory when execute this command.
However, major shortcoming of using this command is that one should go to “download” folder and type this command every time they want to use PYLITH, otherwise the system will not recognize any command from PYLITH-code.
The solution is very easy, you just need to add PYLITH environment variable to your shell setup (.bashrc). Many text editor are available, in this case I use VIM. If your system still doesn’t have this program, you can install it by using following command:
>> sudo apt-get install vim
After installing VIM, type following command
>> cd ~
>> vim .bashrc
then, add following path in the end of line
export PATH=”$HOME/download/pylith-2.2.1-linux-x86_64/bin/:$PATH”
export PYTHONPATH=”$HOME/download/pylith-2.2.1-linux-x86_64/lib/python2.7/site-packages:$HOME/download/pylith-2.2.1-linux-x86_64/lib64/python2.7/site-packages”
export LD_LIBRARY_PATH=”$HOME/download/pylith-2.2.1-linux-x86_64/lib:$HOME/download/pylith-2.2.1-linux-x86_64/lib64″
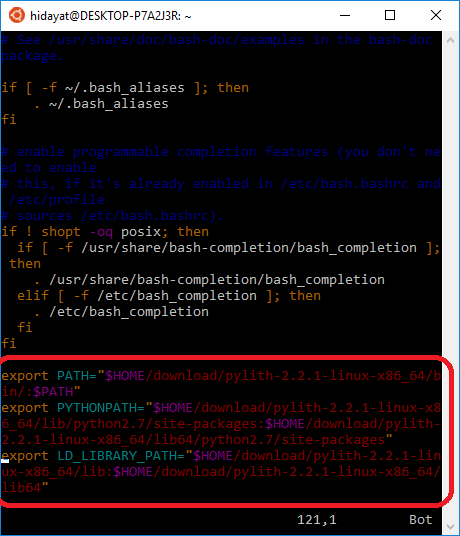
In this case, $HOME/download/pylith-2.2.1-linux-x86_64/ is the directory where my downloaded PYLITH-code is located
Once use save your bashrc, command from PYLITH-code can be executed everywhere.
STEP 6.
Verification
The simple way to check that PYLITH has been installed correctly is to run one command or example. In this way, just simply type:
>> pylith
and you will get following result
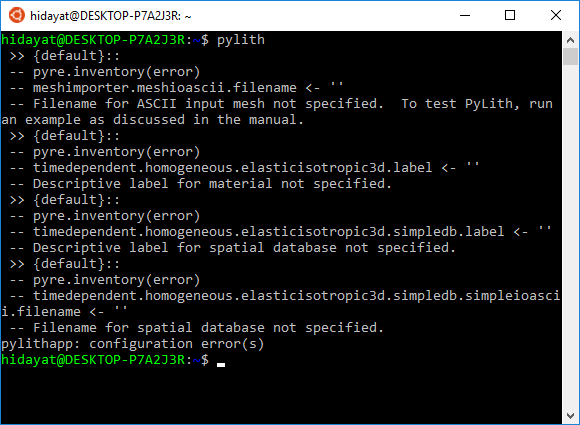
Congratulation!! PYLITH-code is running well in your computer (well, even above command give you “unwell” output ^^).
Linux bash shell in windows 10 is also capable in building PYLITH from source, but not recommended for one who doesn’t familiar with UNIX environment. It is very tricky and is fraught with a hidden difficulty. I will write about this issues later, Insyaallah.


